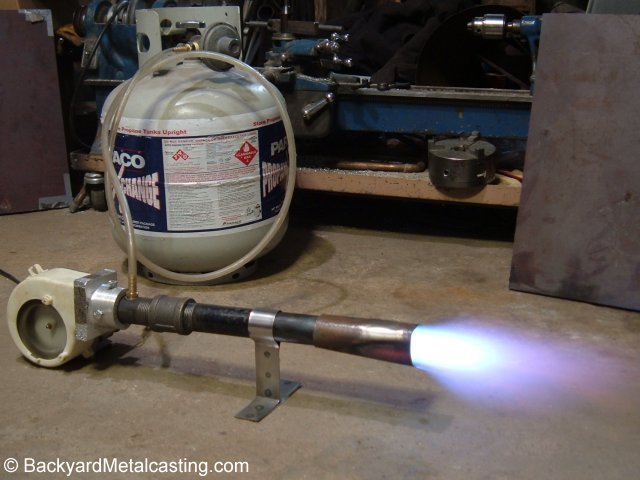
This experimental burner is made from 1" (American nominal size) steel pipe. This flame is with a standard barbecue grill regulator! No expensive high pressure regulator needed! This is similar to my Mapp® gas burner experiments. For safety the propane tank should be further from the flame, but in this case I wanted it to be obvious that the propane tank with low pressure barbecue regulator was powering the burner. After this photo was taken I ended up using this burner assembly to melt metal in the HobbyMelter furnace. Also, if you have a furnace with backpressure issues, a blown-air burner can often solve them since these burner are less "sensitive" to pressure. Click the photo for a larger view
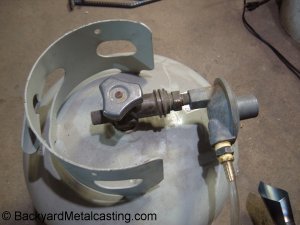
Here is the regulator that is metering the propane to the burner. I took this off an old discarded BBQ grill. The only change is that I removed the original propane hose (it was only about 2 feet long) and replaced it with this clear vinyl tubing (an actual 10' long propane hose would be better).
"Atmospheric" a.k.a. "venturi" a.k.a "self-aspirated" burners are very popular because of the convenience of not needing an air blower and electricity source to power it. But they are also wasteful compared to blown air burners. The typical homemade atmospheric burner requires a high pressure regulator to blast propane through it at over 10 PSI, creating a low pressure zone or "vacuum" in the burner tube to suck in oxygen for combustion. With this high gas pressure far more propane is being blown in than can mix evenly with the air. So it get's wasted and doesn't burn until it exits the vent hole and contacts fresh oxygen creating a pillar of fire. Next thing you know, the propane tank is "freezing up" and running empty after about 5 or 6 melts. This design requirement also makes burning natural gas in an atmospheric burner pretty much impossible. Natural gas such as that supplied to a residence flows at very low pressures, so the forceful jet of gas would not exist and therefore the vacuum effect would not be created and proper functioning would not occur. A blown air burner is different. Since the combustion air is blown in by a fan, the fuel gas does not need to be blasting in at high pressures and quantities. The gas enters at a lower speed giving it more time to burn in the furnace (instead of being wasted as a pillar of fire above the vent hole). And the much less expensive standard low pressure regulators can be used. BONUS INFO: Have you ever wondered why frost forms on the bottom of propane tanks when they run low on gas? Propane is stored in the tank as a liquid. When it is drawn out of the tank rapidly by a burner, energy (heat) is needed to vaporize the liquid propane into a gaseous vapor. When the tank is almost empty the propane vaporizes so quickly that the process creates a refrigeration effect cooling the tank's surface by absorbing heat from the surroundings. So much that moisture in the surrounding air freezes on it's surface creating the "frost" layer.
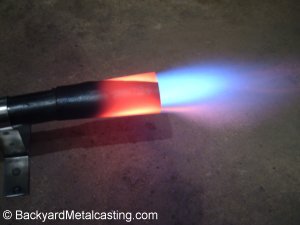
This closeup of the flame shows that even with the cheaply made, rolled sheetmetal flare, the flame is quite nice with well defined cones. So it's as effective as an atmospheric burner, yet does not require an expensive high pressure regulator.
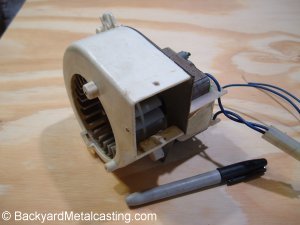
The burner is based on this small "squirrel cage" blower that I bought on Ebay for $16.00 (which includes shipping). And I don't know why they're called "squirrel cage" blowers. This probably came out of some electrical apparatus. It's made by Samsung according to the label. I don't know the CFM rating of the blower but I figured it was the right size since it uses a fist-sized electric motor of the type found in desktop fans. Since the outlet is square I need to fabricate a transition to fit the burner pipe.
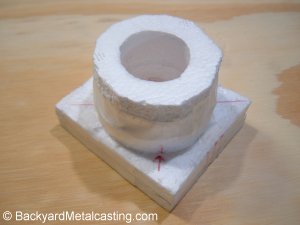
Here's the Styrofoam pattern that I made. It's sloppy but I expect it to do the job. I'll cast this using the lost-foam method. This is where the pattern is buried (and stays) in the sand and the molten metal vaporizes it and fills the void left behind.
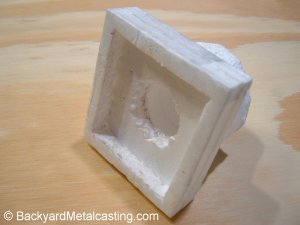
The backside of the pattern is recessed so the cast nozzle will fit on the blower. Yes this is crude but it's just a cheap experiment.
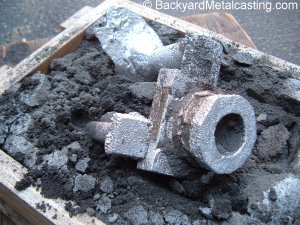
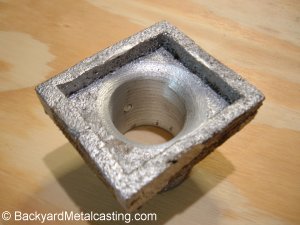
And here's the ugly casting after opening the mold.
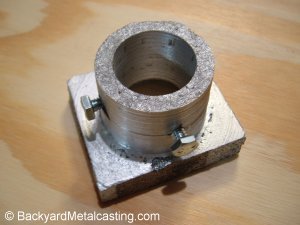
After a about 15 minutes on the lathe it's ready. Yes I know this is one of the worst machining jobs ever...
Here's the backside where I rounded out the back as much as possible to let the air flow into the nozzle better.