Go to section: | Bracketry | The base part 1 | The base part 2 | To be continued...

Here is the mold steaming from the vents after filling it with aluminum. I do all of my mold making in the basement. This mold was too heavy to carry outside so I brought the crucible of molten aluminum into the basement and poured it there (there's a stone stairway leading directly to the basement from outside). Don't send me any e-mails about this being a dangerous practice and there's no need to call me reckless and what not on various forums (it's happened in the past). I didn't set anything on fire so calm down and put your shirt back on. The mold required EVERY bit of pourable aluminum that was in the crucible. Had I melted one pound less I literally may not have had a successful casting. The weights and lead ingots on the mold corners are to stop hydrostatic pressure from possibly separating the mold halves, it's a hydraulic force that can leave metal flooding out the mold.
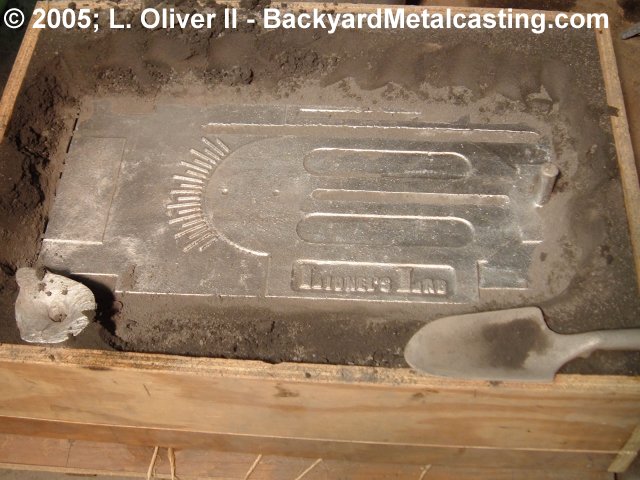
A long-@ss hour later I opened the mold. During the wait I couldn't help but think about the things that could have gone wrong and I wanted to dig the mold open immediately (sure 5 minutes is long enough...). But a one hour cool down for a casting this large ensures a sufficiently cooled casting when the mold is opened. The mold is so heavy especially with the additional 14 pounds of metal that I determined that the easiest way to open the mold would be to just dig it open from the top. I was extremely happy to see how well the casting formed. The surface is actually smoother than most of my castings. And in this view it reminds me of a rectangular sundial. Click photo for larger view
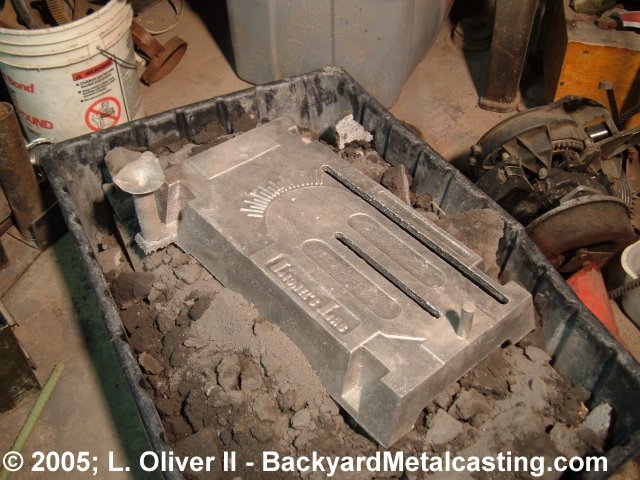
Here is the casting freed from the mold resting on the sand. Notice the lawnmower engine to the right of it. This casting is composed of almost nothing but lawnmower engine alloy. At the end of the casting nearest the bottom right corner of the photo there is a small riser on the casting. I have decided to call this type of riser a "chimney riser." I put it there just to work as a "chimney to allow steam to escape the mold since it's such a large casting and I thought the vents alone may not be enough. When it itself filled with metal I was pretty confident that the entire mold filled. Click photo for larger view
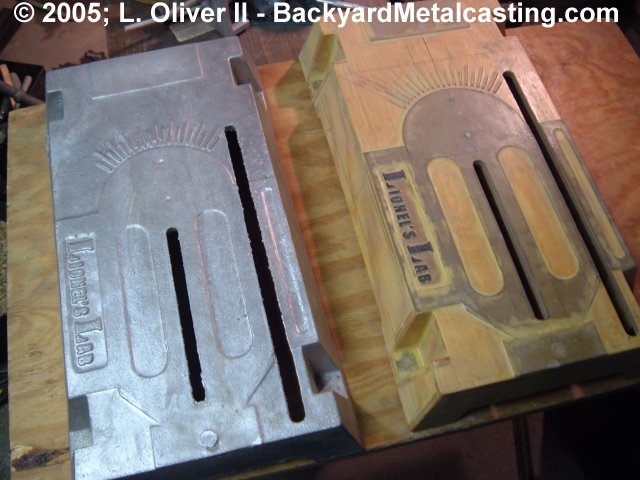
Here's a comparitive view of the casting and the pattern. Overall the casting is 22" long and 12" wide. I'm surprised to find out that the casting weighs 15 pounds! After some thought I determined that since my crucible is so erroded away from the heat and oxidation it's internal volume has increased allowing it to not hold about 16 pounds of molten aluminum (one pound for the casting's sprue). So in a sense my crucibles gets better with age! Click photo for larger view
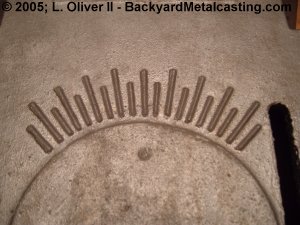
Here's a look at the angle degree guide cast on the base. For some reason they don't look accurate in this photo. A pointer is cast onto the rear vice jaw so you know what angle the cut will be. And of course the jaw pivots in both directions for convenience. The center mark represents 0 (a "square" cut) and the marks at each end are at 45°. The other marks represent the angles every 5°. There are no numbers because I couldn't devise a way to make the numbers neatly and small enough. But hey, if you can't count the angles then...gosh. And besides it's more sophisticated like those watches that have no numbers on the face.
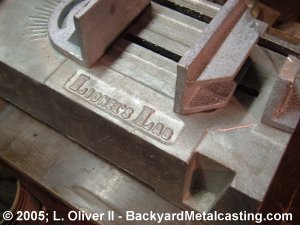
When I was looking at the chop saws sold at the Home Depot I saw that one manufacturer cast their company name into the base in this same general location. So I figured... what the heck. It'll really stand out when I file the raised portions and top of the letters flat.
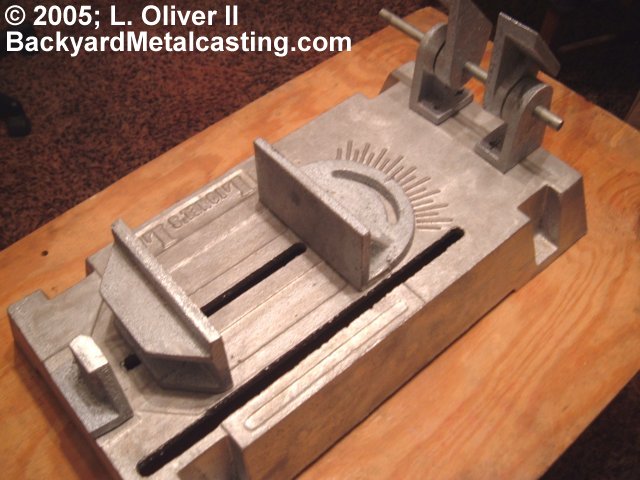
Here's the current progress on the saw. The base has been cleaned up a bit and the brackets are resting on top. I still need to cleanup the channel grooves with a file among other little casting cleanup tasks, before I can bolt the brackets in place. If you're not already convinced of the value and potential of metalcasting and this relatively detailed base casting and related parts has not yet swayed you then I'm not sure if anything will. The next steps are to design the motor mount and blade platform pattern assemblage, then design the spindle components. Click photo for larger view
Go to section: | Bracketry | The base part 1 | The base part 2 | To be continued...