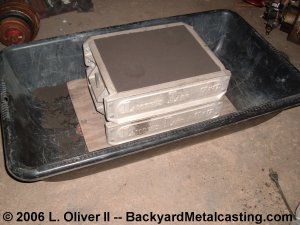
This is how I used to make my molds. I would put this plastic cement mixing tub on the ground and put the molding board and flask inside it. It did the job of course but it was not an enjoyable way. I want the molding table to have very little surface area so I couldn't set things on it and therefore prevent it from becoming a junk magnet!
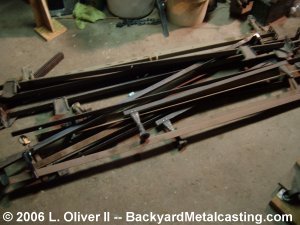
Here is a goodly collection of angle iron that I've collected in the past 3 or 4 years. It seems that almost every week there is someone discarding some angle iron (technically it's angle steel) bedframe. The city sanitation trucks won't collect steel like this so it sits at the curb until scrap metal collectors pick it up to sell to a scrap yard. Most of this steel is rather low quality and cutting it with a hacksaw or bandsaw is almost impossible. It just destroys the blades because it's so hard. An angle grinder with an abrasive cutting disk is the way to go.
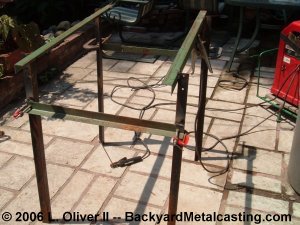
This is how I started the table. It has 4 angle iron legs with two "cross-members" at the top. These cross members will support the actual mold making surface. Two lower cross members (held in place with the clamps in preparation for welding) are the basis for the structure that hold the sand bin in position.
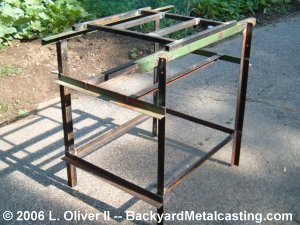
Here you can see that I've built the actual mold making work surface at the top and have also added to long pieces of angle iron to form the sand bin platform. I've also welded some angle iron near the base to provide a shelf once a board is laid across and also to further strengthen the structure. At this point the table is VERY sturdy and secure.
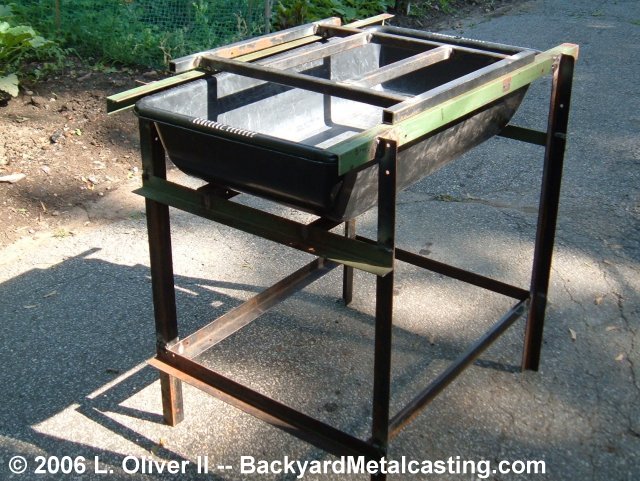
As you can see the plastic cement tub is in position. It just slides in like a drawer. Unlike some molding tables this one is not intended to store my molding sand. I'll keep the sand in a plastic tub near the table. This is just a platform for making the molds on. The cross-members near the bottom will support a wooden shelf for flasks (or most likely junk, knowing myself). But I probably could put the sand bin there if I wanted to. Hey! Maybe even a bin shaped like a small dumpster with a front access chute! Click photo for a larger view

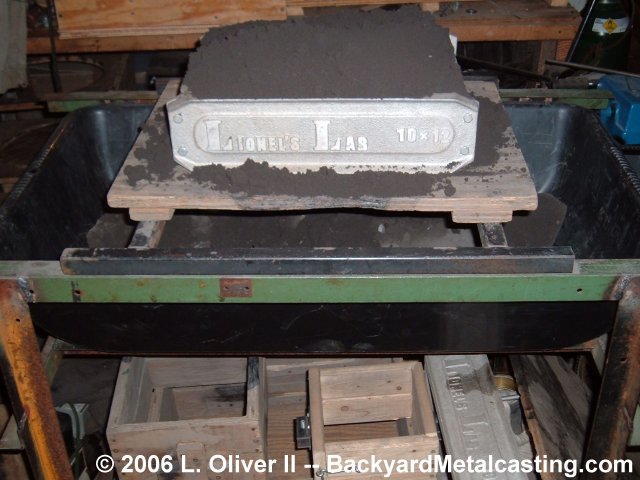
The working surface is made from 1" square tubing. The molding board sits on top of it and as the molds are being made the loose sand falls neatly into the tub through the gaps.
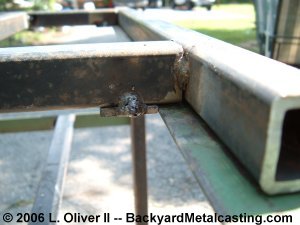
The work surface has guides welded to the bottom which keep it aligned with the top rails of the molding table. In this photo the welds are just quick "tack welds" to simply hold the parts in position. Finishing welds were done later.
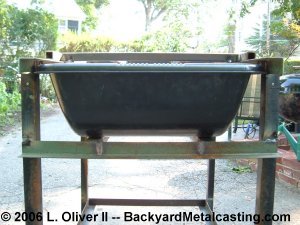
This view details how the tub fits in it's location. There is sufficient space all around the tub for a simple sliding fit. Notice how the base rails support the tub at the bottom edges for good balance.
Here's the basic table. It was well worth the effort and only took about one weekends worth of work. However I've determined that the table is too small. I usually make fairly large molds and the table is just not wide enough (front to back width). I tend to lose molding sand from it spilling over the back or front rails especially when striking the tops of the molds flat and while ramming. I'll keep using it and slowly add accessories until I decide to get rid of it or something, and build a bigger one. Eventually I'll probably even clean it up and paint it. Click photo for a larger view