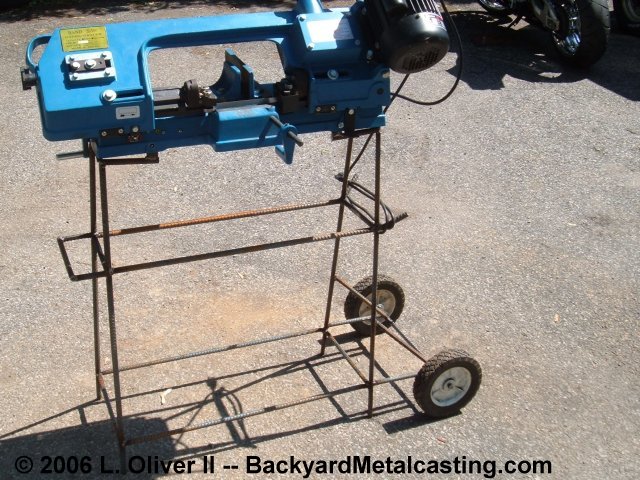
Here is the base with all the welding completed but un-painted. The saw is not fully bolted in place. It may be hard to make out the structure because there is very little structure. I often like to build things with a "minimalist" approach. Meaning using as little material as possible. It may look a bit flimsy but it is very rigid and secure. Click photo for larger view
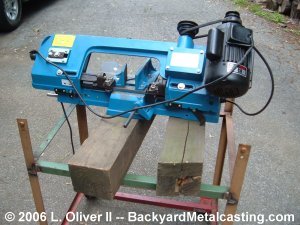
The first thing I did was remove the original base.
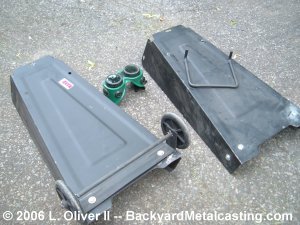
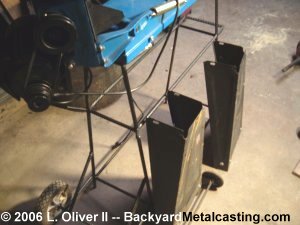
These folded sheet metal things are the original legs. Extremely flimsy. I was happy to remove them.
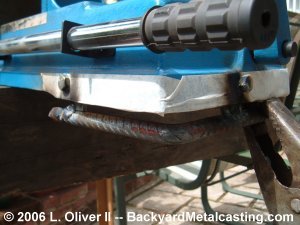
I next bent two "U" shaped pieces of rebar. They were not truly "U" shaped because they have flat, not curved bottoms. I welded three flanges to the bracket in alignment with the bolt holes. This finished assembly is what holds the saw to the base.
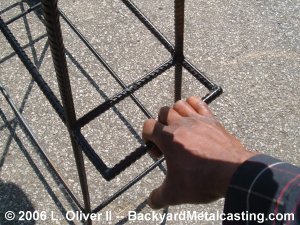
Here is what is considered a useful handle in Lionel's Laboratory. It's welded solidly to the front legs. Very easy to control the unit when tilting it onto the wheels for transport.
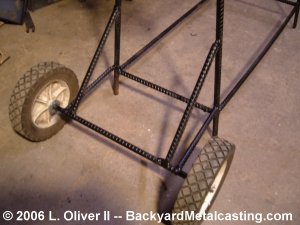
Here is the wheel assembly. I designed it somewhat like a "wheely bar" on drag cars. The four frame legs support the weight of the saw but the wheels are still in light contact with the ground. Raising the front of the saw a mere two inches off the ground puts all the weight on the wheels and it is absolutely simple to move the saw around.
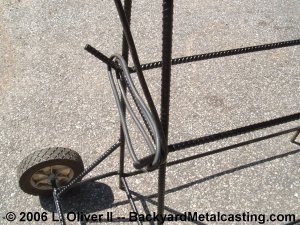
I decided to weld on two short sections of rebar to form a rack to wind the power cord onto for transporting the saw. I never use this rack, I just quickly wrap (toss...) the cord anywhere around the base that it'll stay...
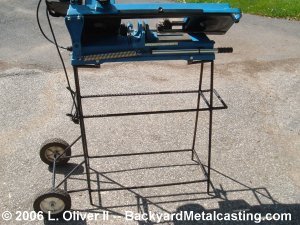
Here is another view of the finished base. There's almost nothing there. So it's easy to sweep under and around.
Here are the old bases next to the new construction. The new design raised the saw about ten inches for a much more comfortable working height. Go to part 3; vertical conversion.